DriveLM、Dolphins 复现
这是我时记录的一些笔记 ,希望能对你有所帮助😊
学长记录
数据准备
- 从作者提供的 google drive 链接中下载的 Drivebench.zip 不包含干净数据(即最终
data目录下的nuscenes/samples子目录缺失)。根据论文附录得知数据源于 drivelm-nuscenes 数据集,因此从该数据集中找到与corruption目录中相对应的数据,提取代码见data/extract.py
环境配置
- 虚拟环境名称
drivebench - 安装vllm == 0.6.1.post1时,报错 outlines 依赖的 pyairports 包无法找到,pip 官方没有提供。从第三方库 bckim92/language-evaluation 下载到本地后上传服务器,执行
pip install .安装。服务器路径为~/yuep/Drivebench/pyairports-master - 代码运行中 transformers、tokenizers 等库由于版本问题存在调用方法缺失。试验后可用版本为
transformers==4.43.2, tokenizers==0.19.1 - 运行 evaluate 代码时需要第三方库
language_evaluation,pip 官方没有提供。从第三方库 bckim92/language-evaluation 下载到本地后上传服务器,执行pip install .安装。服务器路径为~/yuep/Drivebench/language-evaluation-master
代码运行
- 从
drivebench-test_final.json中读出的 image_paths 部分数据并不包含完整的六个摄像机角度,在 python 运行时会出现类似于[CAM_BACK, None, None, None, None, None]的情况,需要注意代码是否对 None 有正确的处理(读取代码见inference/utils.py,容易引起报错。 - llava1.5 模型默认网络下载,出现 SSL Error 报错。修改部分代码改为本地模型加载,模型存储位置为
/mnt/ssd1/yuep/model,后续模型下载到本地也可以存在这里
DriveLM配置
模型下载
主仓库:github链接
llama-7b 基座模型: meta申请没通过,找的一个链接
Drivebench预训练权重:huggingface链接
初体验
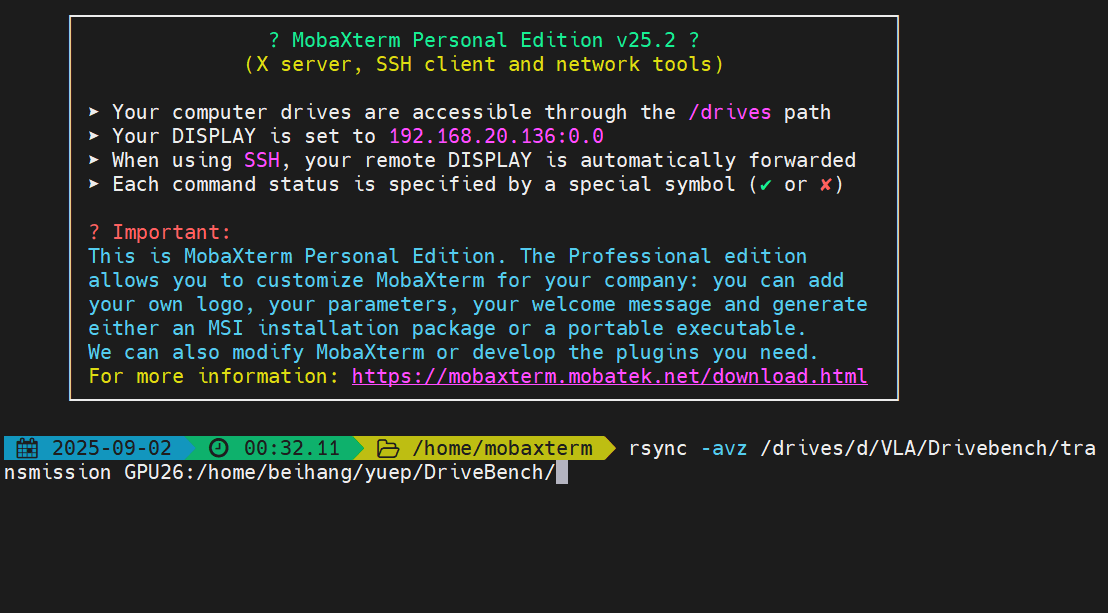
- 直接用镜像站下载也下载不了,只能用梯子先下载到本地,然后在MobaXterm用
rsync上传到服务器 - MobaXterm无法直接识别windows下的路径,需要将 Windows 路径转换为 MobaXterm 可以识别的 Unix 风格路径。MobaXterm 会自动将本地磁盘挂载到
/drives/目录下。D:\对应的是/drives/d/C:\对应的是/drives/c/
- 另外就是,在 Windows 系统中(例如使用 PowerShell 或 CMD)配置 SSH 时,配置文件默认存放在
C:\Users\用户名\.ssh\config。但是 MobaXterm 有自己的家: 当打开 MobaXterm 的终端时,进入的是一个独立的 Linux/Unix 环境。这个环境有它自己的家目录 (Home Directory),我的路径是C:\Users\pengg\AppData\Roaming\MobaXterm\home。因此将.ssh中的configcopy过来即可 - 如果ssh配置好了,目标服务器可以直接用别名,比如这里的GPU26
- 后来发现可以直接从文件夹拖拽到vscode中,直接复制过去,这下joker了。
Updated: 实测下来直接拽进去比rsync要慢很多很多
再探索
起因:手滑把之前用rsync上传的删了🤡
直接用hfmirror镜像下载效果不了,xget加速也用不了。但四处碰壁后,我发现可以先unset https_proxy http_proxy all_proxy临时取消代理然后用 huggingface-cli搭配hf-mirror下载效果不错
大致流程:
1 | |
环境配置
git+https://github.com/csuhan/timm_0_3_2.git
git+https://github.com/openai/CLIP.git
网络无法直接连接,在gitclone上找到镜像链接
1 | |
- 如果你要clone的仓库还没有缓存过,先在自己电脑上
clone一遍,之后就可以在服务器中clone缓存了
代码运行
推理
环境:drivebench_test(添加了CLIP等库)
在llama_adapter_v2目录下执行inference的demo.py
1 | |
此时直接执行评估会出现问题,因为上一步生成的output.json不完整,这是为什么呢?因为代码里对于gpu采用的硬编码,直接指定第一个线程让gpu:0执行,而恰好此时前两块gpu都已经占满了,直接cuda out of memory。因此output.json不完整,只有两百多行。目前采用的是解决措施是先nvidia-smi一下,然后找出可用的gpu,然后在运行代码上加一个CUDA_VISIBLE_DEVICES=来让程序只能识别这些gpu,完整执行代码如下
1 | |
评估
修复上述问题后遇到
1 | |
- 说是有些对象不能序列化的问题,issue中也有人遇到同样问题,作者并未回复。
- 下面是AI回复
您好,这个问题非常典型,是使用Python的multiprocessing库时经常会遇到的错误。
错误分析
错误类型:
TypeError: cannot pickle '_thread.RLock' object这个错误的核心是 “无法序列化(pickle)一个线程锁(RLock)对象”。为什么会发生这个错误?:
- Pickle (序列化): 当您使用
multiprocessing.Pool时,主进程需要将任务(函数和它的参数)发送给多个子进程去执行。这个发送的过程就需要通过“序列化”(Pickling)将Python对象转换成字节流,以便在进程间传输。 - RLock (线程锁):
RLock是一种同步工具,用来防止多个线程同时访问共享资源。这种锁对象与创建它的进程是绑定的,它本身的状态不能被序列化并发送到另一个独立的进程中去。 - 根本原因: 在您的代码
evaluation.py中,p.map(self.chatgpt_eval.forward, data)这一行试图将self.chatgpt_eval这个GPTEvaluation类的实例方法发送给子进程。为了发送这个方法,multiprocessing试图序列化整个self.chatgpt_eval对象。然而,这个对象(或者它内部引用的openai库的对象)包含了一个不可序列化的RLock,因此导致了TypeError。
- Pickle (序列化): 当您使用
解决方案
解决方案的核心思想是:不要试图在进程间传递复杂的对象实例,而是让每个子进程自己去创建它所需要的对象。
- 修改成功后,git了一下,原始代码在初始提交
==目前就是OpenAI的SDK无法连接,没有代理,而评估的一项内容就是==ChatGPT Score
微调
1 | |
1 | |
Dolphins 配置
项目地址:github链接
环境配置
没办法,numpy版本冲突,Dolphins 只能新建一个conda环境搞了
1 | |
退回到numpy-1.26.4后
1 | |
新环境
- conda:
dolphins - 依旧报错连连,各种包冲突,尝试把几个包升级下,ok了
Yolov8
安装
新建环境 yolo
直接pip install -U ultralytics 即可
然后在huggingface上下载模型权重,点击链接
处理结果
所有 Ultralytics predict() 调用将返回一个 Results 对象列表:
1 | |
Results 对象具有以下属性:
| 属性 | 类型 | 描述 |
|---|---|---|
orig_img | np.ndarray | 原始图像,以 numpy 数组形式呈现。 |
orig_shape | tuple | 原始图像的形状,格式为(高度,宽度)。 |
boxes | Boxes, optional | 一个 Boxes 对象,包含检测到的边界框。 |
masks | Masks, optional | 一个 Masks 对象,包含检测到的掩码。 |
probs | Probs, optional | 一个 Probs 对象,包含分类任务中每个类别的概率。 |
keypoints | Keypoints, optional | 一个 Keypoints 对象,包含每个对象检测到的关键点。 |
obb | OBB, optional | 包含旋转框检测的 OBB 对象。 |
speed | dict | 一个字典,包含预处理、推理和后处理的速度,单位为毫秒/图像。 |
names | dict | 一个将类索引映射到类名称的字典。 |
path | str | 图像文件的路径。 |
save_dir | str, optional | 用于保存结果的目录。 |
Results 对象具有以下方法:
| 方法 | 返回类型 | 描述 |
|---|---|---|
update() | None | 使用新的检测数据(框、掩码、概率、obb、关键点)更新 Results 对象。 |
cpu() | Results | 返回 Results 对象的副本,其中所有 tensor 都已移动到 CPU 内存。 |
numpy() | Results | 返回 Results 对象的副本,其中所有 tensor 都已转换为 numpy 数组。 |
cuda() | Results | 返回 Results 对象的副本,其中所有 tensor 都已移动到 GPU 内存。 |
to() | Results | 返回 Results 对象的副本,其中 tensor 已移动到指定的设备和数据类型。 |
new() | Results | 创建一个新的 Results 对象,该对象具有相同的图像、路径、名称和速度属性。 |
plot() | np.ndarray | 在输入的 RGB 图像上绘制检测结果,并返回带注释的图像。 |
show() | None | 显示带有注释的推理结果的图像。 |
save() | str | 将带注释的推理结果图像保存到文件并返回文件名。 |
verbose() | str | 返回每个任务的日志字符串,详细说明检测和分类结果。 |
save_txt() | str | 将检测结果保存到文本文件,并返回保存文件的路径。 |
save_crop() | None | 将裁剪的检测图像保存到指定目录。 |
summary() | List[Dict[str, Any]] | 将推理结果转换为汇总字典,可以选择进行归一化。 |
to_df() | DataFrame | 将检测结果转换为极坐标数据帧。 |
to_csv() | str | 将检测结果转换为 CSV 格式。 |
to_json() | str | 将检测结果转换为 JSON 格式。 |
有关更多详细信息,请参见 Results 类文档.
pipeline搭建
问题
- 现在的问题是Drivebench的inference脚本,虽然是命名为
llava1.5.py,但其实在代码中并未指定模型,而是一种加载标准Hugging Face格式的模型的设计。而现在的DriveLM是一个GitHub项目,它有自己独特的代码、模型结构和权重加载方式,具体如下:1
2
3
4
5
6
7
8
9
10
11
12
13
14
15
16
17
18
19
20
21# inference脚本
class LLMPredictor:
def __init__(self, model_name, system_prompt, sampling_params, num_images_per_prompt, max_model_len, tensor_parallel_size, corruption):
self.tokenizer = AutoTokenizer.from_pretrained(
model_name,
trust_remote_code=True,
local_files_only=True # 强制使用本地文件
)
self.llm = LLM(
model=model_name,
tokenizer=model_name,
trust_remote_code=True,
max_model_len=max_model_len,
limit_mm_per_prompt={"image": num_images_per_prompt},
tensor_parallel_size=tensor_parallel_size,
download_dir=None,
load_format="auto"
)
1 | |
尝试
- 方案A,基于DriveLM和已有权重转换为huggingface格式的模型,可能需要比较复杂的流程
- 方案B:直接修改llava.15.py加载模型的部分,结合运行demo.py的命令,
思虑后,决定采用方案B,但是一通操作下来,发现已经有人在服务器上用Ray集群了,并且和我的版本不一样,因为conda环境的python版本不一样,所以在他运行时我不能加入,因此只能等😭😭
Safeauto
1 | |